High Dynamic Range Images Workflow
Introduction
Capturing
High Dynamic Range Images (HDRI) plays a crucial role in
VFX and CG integration, ensuring realistic lighting and reflections in post-production. My workflow prioritizes efficiency and accuracy, allowing me to capture precise HDRIs without disrupting an active film set. By using
a Nodal Ninja, PTGui, and a Sekonic light meter, I achieve high-quality HDRI results that seamlessly blend with live-action footage.
Structured HDRI Capture Process
To maintain efficiency and accuracy, I follow a
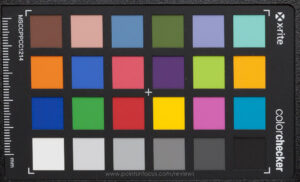
systematic High Dynamic Range Images (HDRI) workflow that minimizes disruptions during a shoot. Before starting, I capture an
HDRI of the color chart, which serves as a crucial reference for accurate color grading in post. Then, I proceed with the HDRI process:
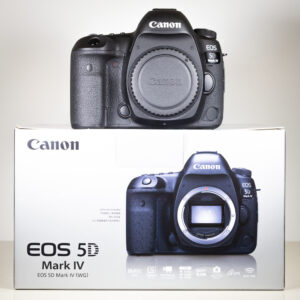
- Bracketed Exposures: I use a camera that captures 7 stops of exposure in a single sequence, ensuring I retain every detail from highlights to deep shadows.
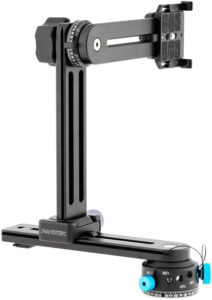
- Panoramic Rotation: I utilize a Nodal Ninja with 45-degree jumps and a 25-degree upward tilt, systematically capturing the full 360-degree environment.
- Vertical Adjustments: After completing one full rotation, I lower the Nodal Ninja by 25 degrees and repeat the process. I also capture one vertical frame at 90 degrees up and 90 degrees down to complete the HDRI sphere.
- Efficient HDRI Timing: I complete my entire HDRI capture process in 1 minute and 30 seconds, preventing major lighting shifts and ensuring consistency.
Parallel Capture Of High Dynamic Range Images

When a shoot continues uninterrupted, I capture HDRIs
in a nearby parallel location to avoid disrupting the main filming process. By choosing a spot with
similar lighting conditions, I ensure that the HDRI remains relevant while allowing the production team to proceed without delays.
Exposure Balancing with a Sekonic Light Meter
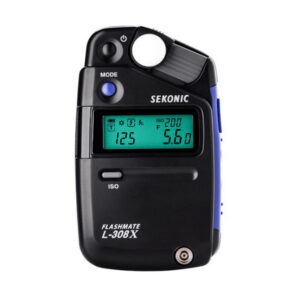
To achieve precise exposure, I use a
Sekonic light meter to measure the
middle exposure of my bracketing sequence. This approach ensures proper dynamic range distribution, preventing overexposure or underexposure. Instead of relying on the camera’s auto-metering, I use a light meter to maintain consistent exposure across all images.
Chrome and Grey Ball References
For additional validation, I capture
chrome and grey ball references at the main set. The
chrome ball records specular highlights and reflections, while the
grey ball ensures accurate diffuse lighting reproduction. These references fine-tune
CG integration and compositing, ensuring digital elements blend naturally with real-world footage.
Regular HDRI Updates for Changing Light Conditions
To account for
changing light conditions, I capture
HDRIs every hour throughout the day. If a specific shot requires precise lighting reference, I take an
additional shot-specific HDRI to match the scene perfectly. This method ensures smooth
day-to-night transitions and accurate illumination for CG elements.
Final High Dynamic Range Images Processing
Once I complete the HDRI capture, I use
PTGui for
HDRI stitching and refine the panoramic output. The final
stitched HDRI is then ready for CG rendering. It provides accurate
global illumination, reflections, and shadows that integrate seamlessly with live-action footage.
Conclusion
My HDRI workflow emphasises
speed, accuracy, and seamless integration into VFX production. By following a structured approach that includes
bracketing, precise exposure metering, chrome/gray ball references, and parallel HDRI capture, I ensure that
CG elements naturally blend with live-action environments. This workflow has proven effective on complex projects, delivering
high-quality lighting data while keeping the film set undisturbed.